Airsense 10 saved by a battery?
The above video quickly demonstrates the ease in assembling a battery to Resmed’s Airsense 10.
You might need to see this new one, just in case you’re in a pinch (if no power is on) or maybe you’re traveling and you need that refreshing, rejuvenating sleep!
Attaching your ResMed AirSense 10 CPAP machine to a battery is a practical solution when A/C power is unavailable, such as during travel or a power outage. So below are detailed steps and considerations for using a battery pack with your machine.
Option 1: Using a ResMed Battery Pack (ResMed Power Station II) for your AirSense 10
The ResMed Power Station II (RPS II) is a battery specifically designed for ResMed devices, including the AirSense 10. Here’s how to use it:
Steps:
- Purchase the ResMed Power Station II (RPS II): Ensure you have the battery and the required DC cable for the AirSense 10.
- Charge the Battery: Before first use, charge the RPS II using the included A/C power adapter until fully charged.
- Connect the Battery to the CPAP: Use the DC cable to connect the RPS II to your machine.
- Attach one end of the DC cable to the battery’s output port.
- Connect the other end to the DC input port of the machine.
- Power On: Turn on the battery and then the machine.
Option 2: Using a Third-Party CPAP Battery Pack
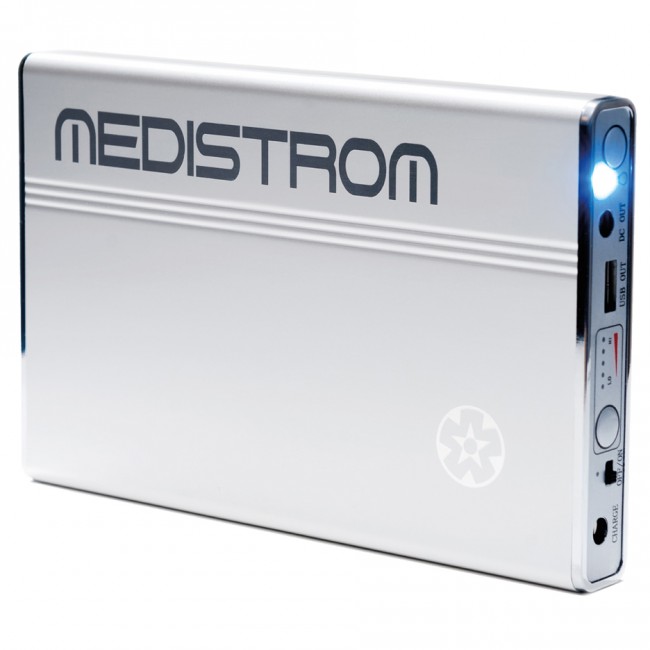
Third-party CPAP battery packs, such as those from Medistrom, can also be used with the AirSense 10. Ensure they are compatible with your device.
Steps:
- Select a Compatible Battery Pack: Choose a battery pack compatible with the AirSense 10. Verify that it includes or offers the necessary DC adapter for ResMed devices.Charge the Battery Pack: Fully charge the battery pack using the provided charger.
- Connect the Battery Pack: Use the appropriate DC adapter to connect the battery pack to your machine.
- Plug the DC adapter into the battery pack’s output port.
- Connect the other end of the DC adapter to the DC input on the AirSense 10.
- Power On: Turn on the battery pack and then the machine.
Option 3: Using a Portable Power Station
A portable power station is a versatile solution that can power various devices, including your CPAP machine.
Steps:
- Choose a Suitable Power Station: Ensure the power station has an A/C outlet or a 12V DC output with the correct wattage to support the AirSense 10.
- Charge the Power Station: Fully charge the power station before use.
Connecting via A/C Outlet: - Plug your machine’s power brick into the power station’s A/C outlet.
- Connect the other end of the power brick to your AirSense 10.
- Connecting via DC Output:
- If your power station has a 12V DC output, use a compatible DC adapter.
- Connect the DC adapter to the power station and the other end to the machine.
- Power On: Turn on the power station and then the AirSense 10.
Questions?
Call 1.877.430.2727.
Last Updated: May 28th, 2024
Re-Edited by Bill Bistak B Sc.,SEO/SEM Spc, CRT
CPAP Clinic – hеаlthсаrе аt уоur hоmе
We ѕеrvе Grеаtеr Tоrоntо Area іn Cаnаdа.
Cоntасt: 1-877-430-CPAP(2727) or іnfо@CPAPClіnіс.са
Looking tо rent CPAP іn Tоrоntо? Thеn vіѕіt CPAPClіnіс.са аnd сhооѕе from a wide rаngе of CPAP nаѕаl masks in Tоrоntо аnd CPAP nаѕаl ріllоwѕ іn Tоronto

